To print my images, I used the website DS Colour labs as this website produced professional quality results. Prior to uploading to the website, I edited each image to give me the result that I wished, I then followed the online instructions to colour profile each image, this was to make sure the colours were printed correctly. Each image was also changed to have 300 dpi which is the standard for JPEG.
There were a range of different papers to choose from including Glossy, Lustre, Pearl and many fine art papers. I decided to choose glossy as this would give my photographs a nice shine. The only downside to this is that the photo can be quite reflective, it can also show up any finger prints and dirt marks. Cost was also a consideration and choosing the glossy paper was an affordable option.
There were many benefits of sending my images to a professional to be printed, these included not having to purchase ink, paper or a printer. I did not have to worry about the quality of the images produced as they would have been printed using equipment that I would not be able to afford. I didn't have to worry about technical issues such as paper jams and running out of ink which may have been a problem if I was to print the images myself.
As I sent away for my images to be printed, I did not have to worry about health and safety considerations such as using electrical equipment and breathing in ink dust.
I do not believe that the images I produced had any legal or ethical considerations attached to them, the images were not violent or graphic in nature and were not of subject people would find offensive.
Monday 22 June 2015
Sunday 21 June 2015
Unit 211 Presenting Photo Images.
I chose the images from my first project ( A study of flowers) for my presentation of images as I believed these pictures would appeal to a wider selection of people than my aircraft photography. Also, I believed that the bright, vivid colours of the flowers would look much better in print and be more visually interesting than the aircraft which all had a similar, rather dull, colour scheme.
After much research, I decided to have my images printed as postcards, the main advantage of this was that it was very cost effective as I found a website that allowed me to print ten, unique postcards. The process was fairly simple, I had to convert my images into JPEG format and I could upload each design into a template one by one. I had to be sure that any detail in the image was in the centre as the edge of the picture could be lost in the print. I had checked that each image had all the important detail that I wished to be printed in the "safe zone"
Before I uploaded my images I had the chance to edit them, however I did not feel like my images needed any further alteration as they had been thoroughly edited for my project.
I chose the postcard format for my images as I think they will be easily portable, they will also be an interesting and useful way to send them to people that want to view my photography and don't have access to the internet. I chose glossy paper as I wanted a shiny effect to bring out the vivid colours of the flowers. The other option was to use matte paper but this would give a dull effect and wasn't what I wanted my images to look like.
The disadvantage of using postcards to present my images are that they are fairly small so may not show up the detail of the image well. They can also be easily damaged.
Other options available to me to present my images include canvas printing, this would make my images very artistic and would look good hung on a wall, however this option was very expensive and the canvas's would have taken up lots of space if they were not hung on a wall.
I could have also have chosen to print my images in a photobook. This would have provided a very long lasting way to present my images, a book, in particular a hardback book, isn't easily damaged. It would also be a nice keepsake and would present the images in a very professional way. The disadvantages are that it's fairly expensive. Also, books are easily lost, especially if lent out to people.
The images could have also been presented online. This would be free and also would make the images available to a wide audience. The disadvantage of this would be the colours displayed may not be accurate.
Final Ten Images
These are my final ten images, I have chosen them as they depict the type of images I set out to capture in my statement of intent (close up, detailed images and full images of the aircraft.)


Evidence of Photo Editing
I had to do minimal editing to my images, I mainly cropped and altered the exposure to brighten up the images.


Tuesday 9 June 2015


Second Photo Shoot Evaluation.
Second Photo Shoot.
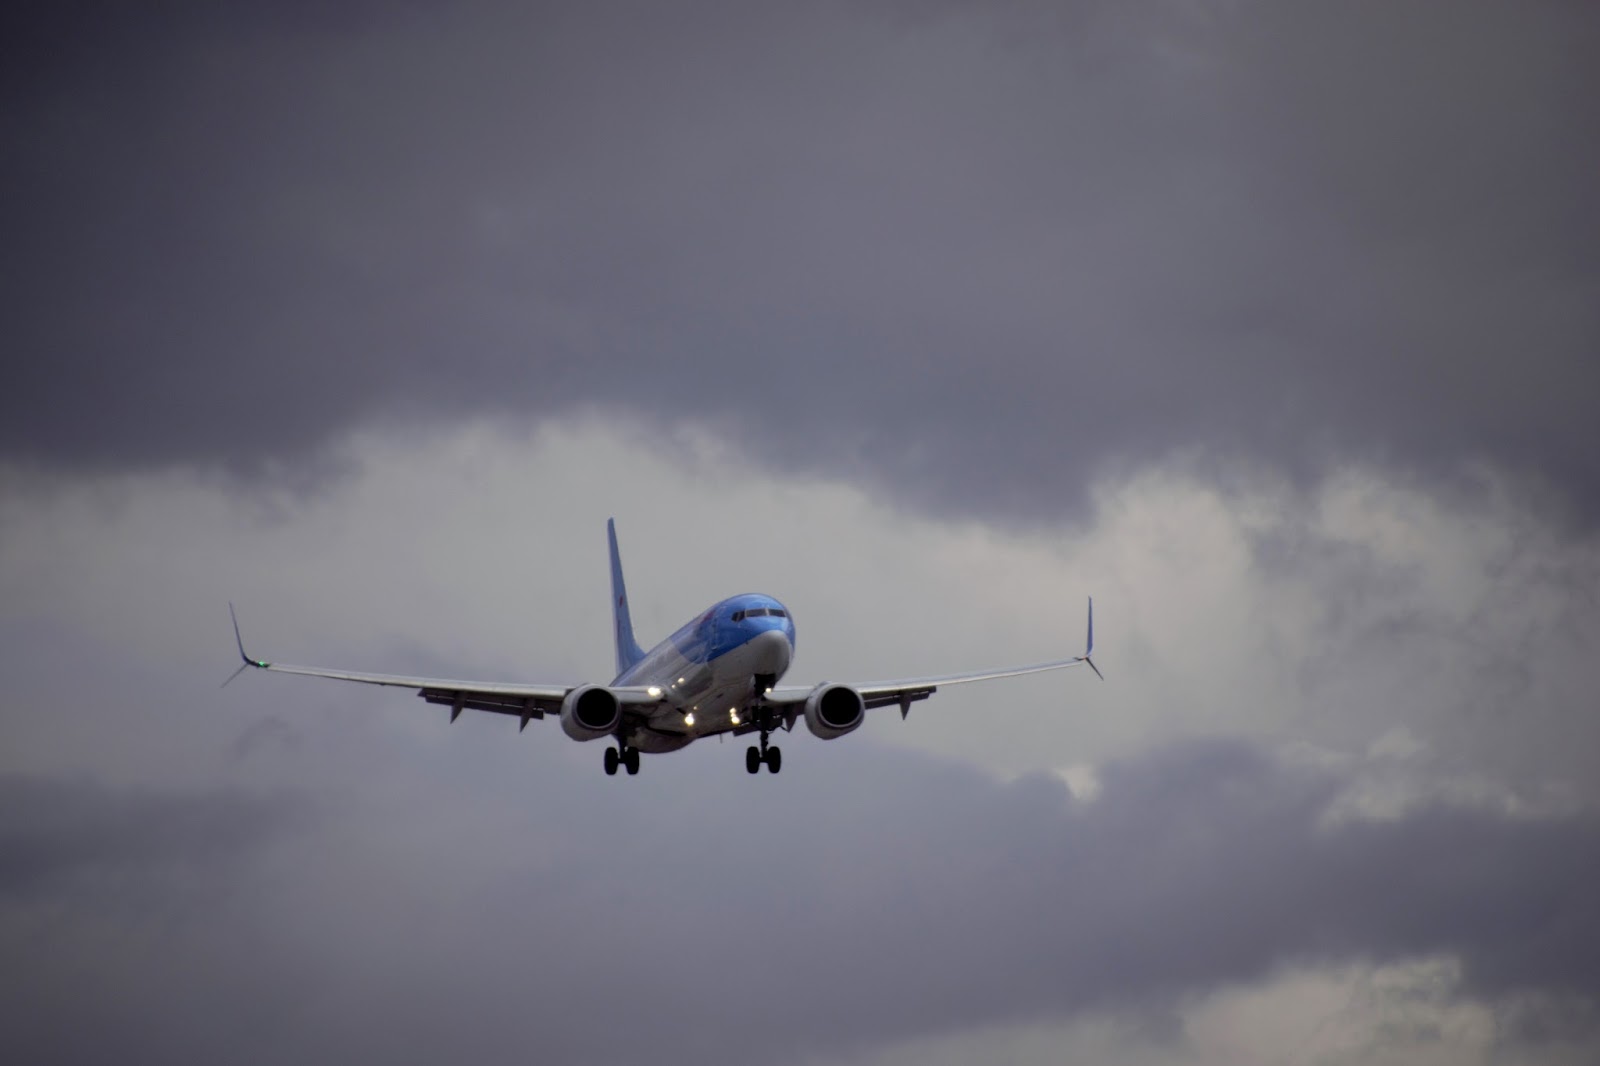
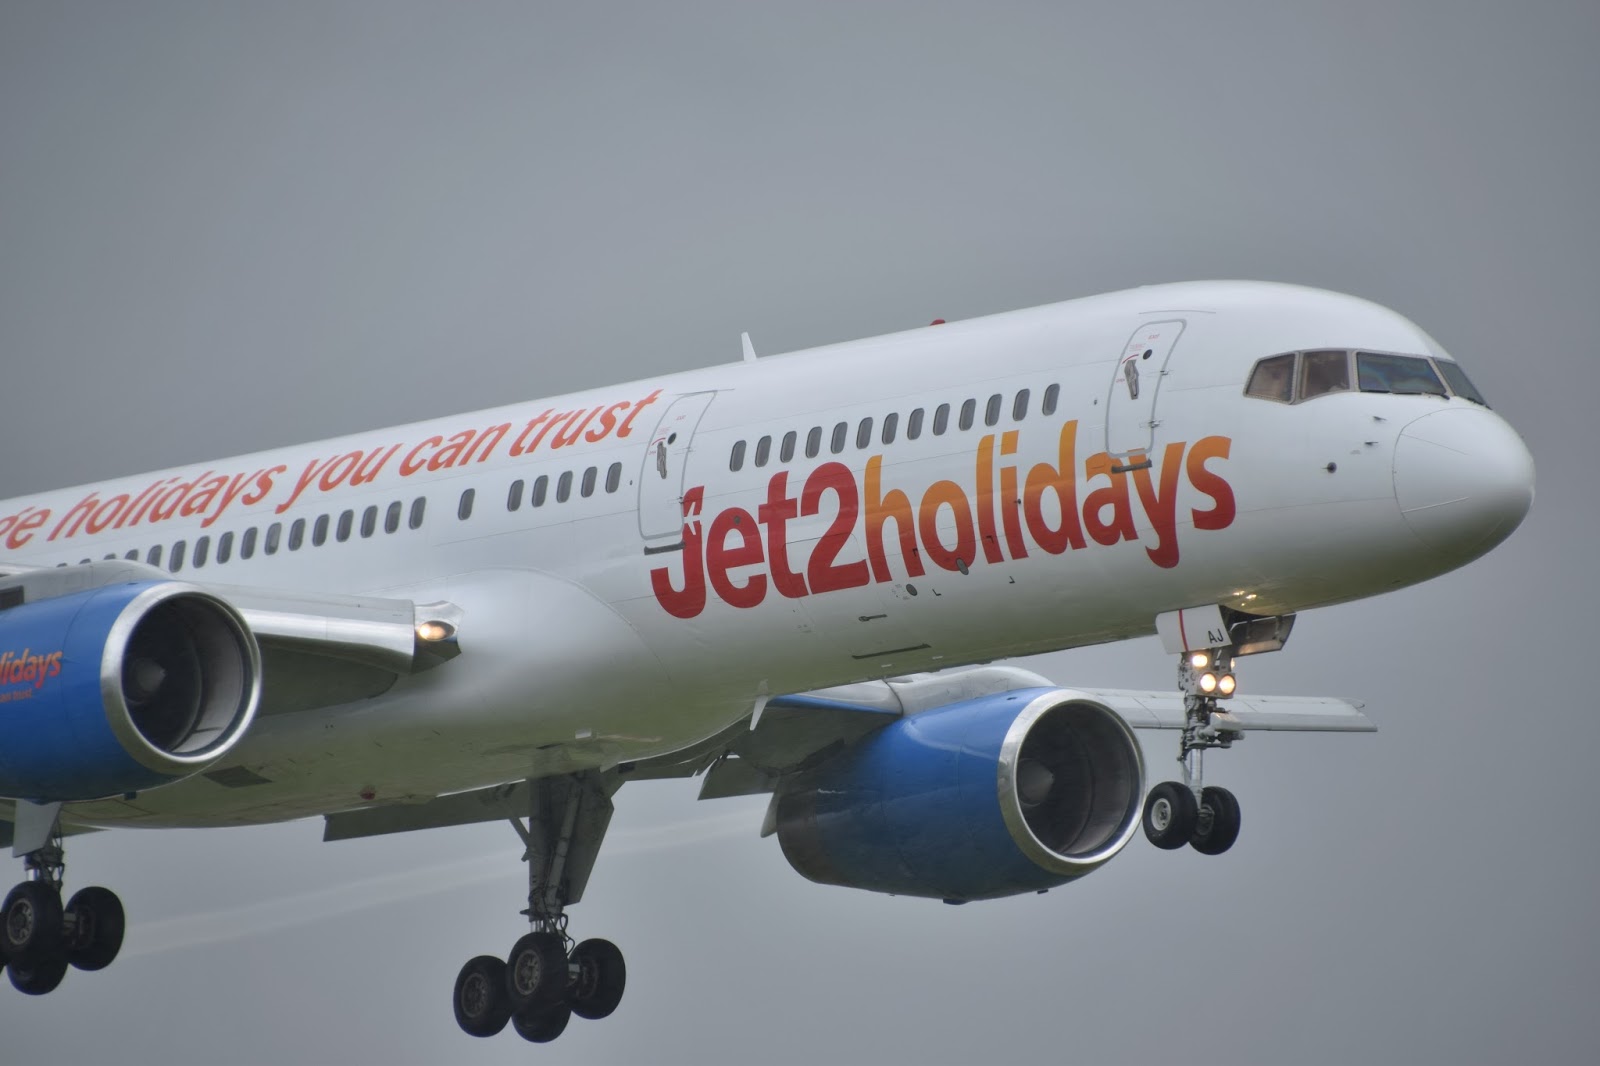
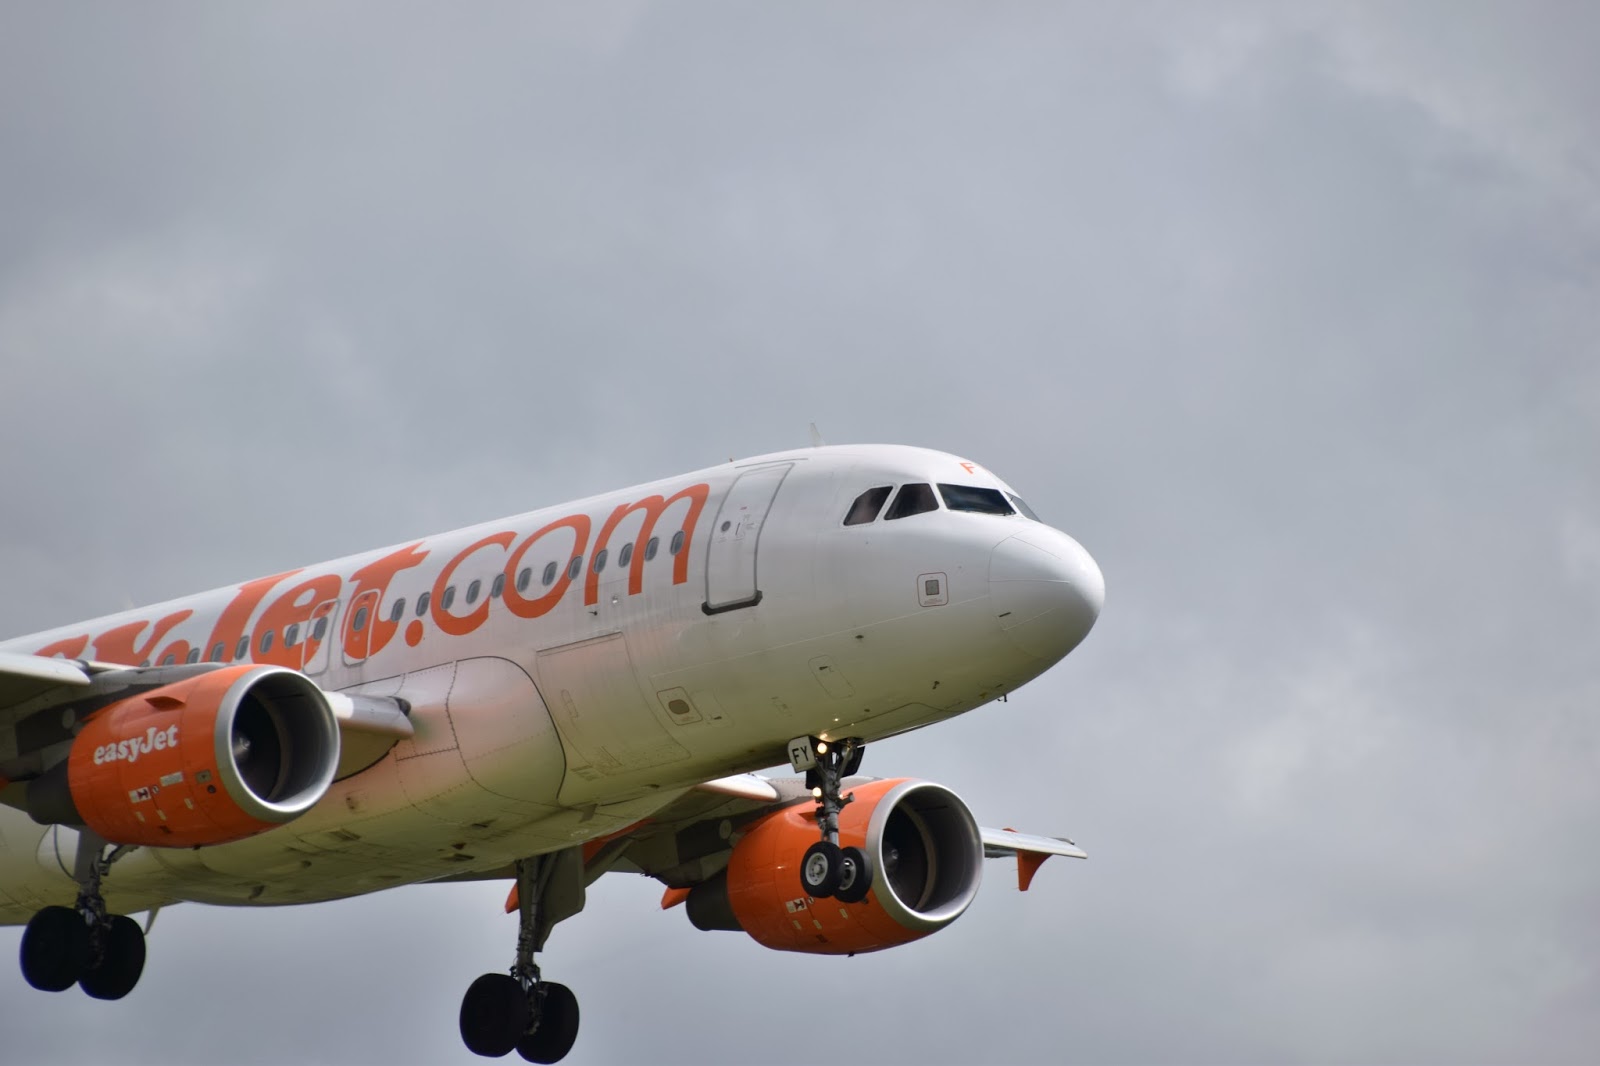
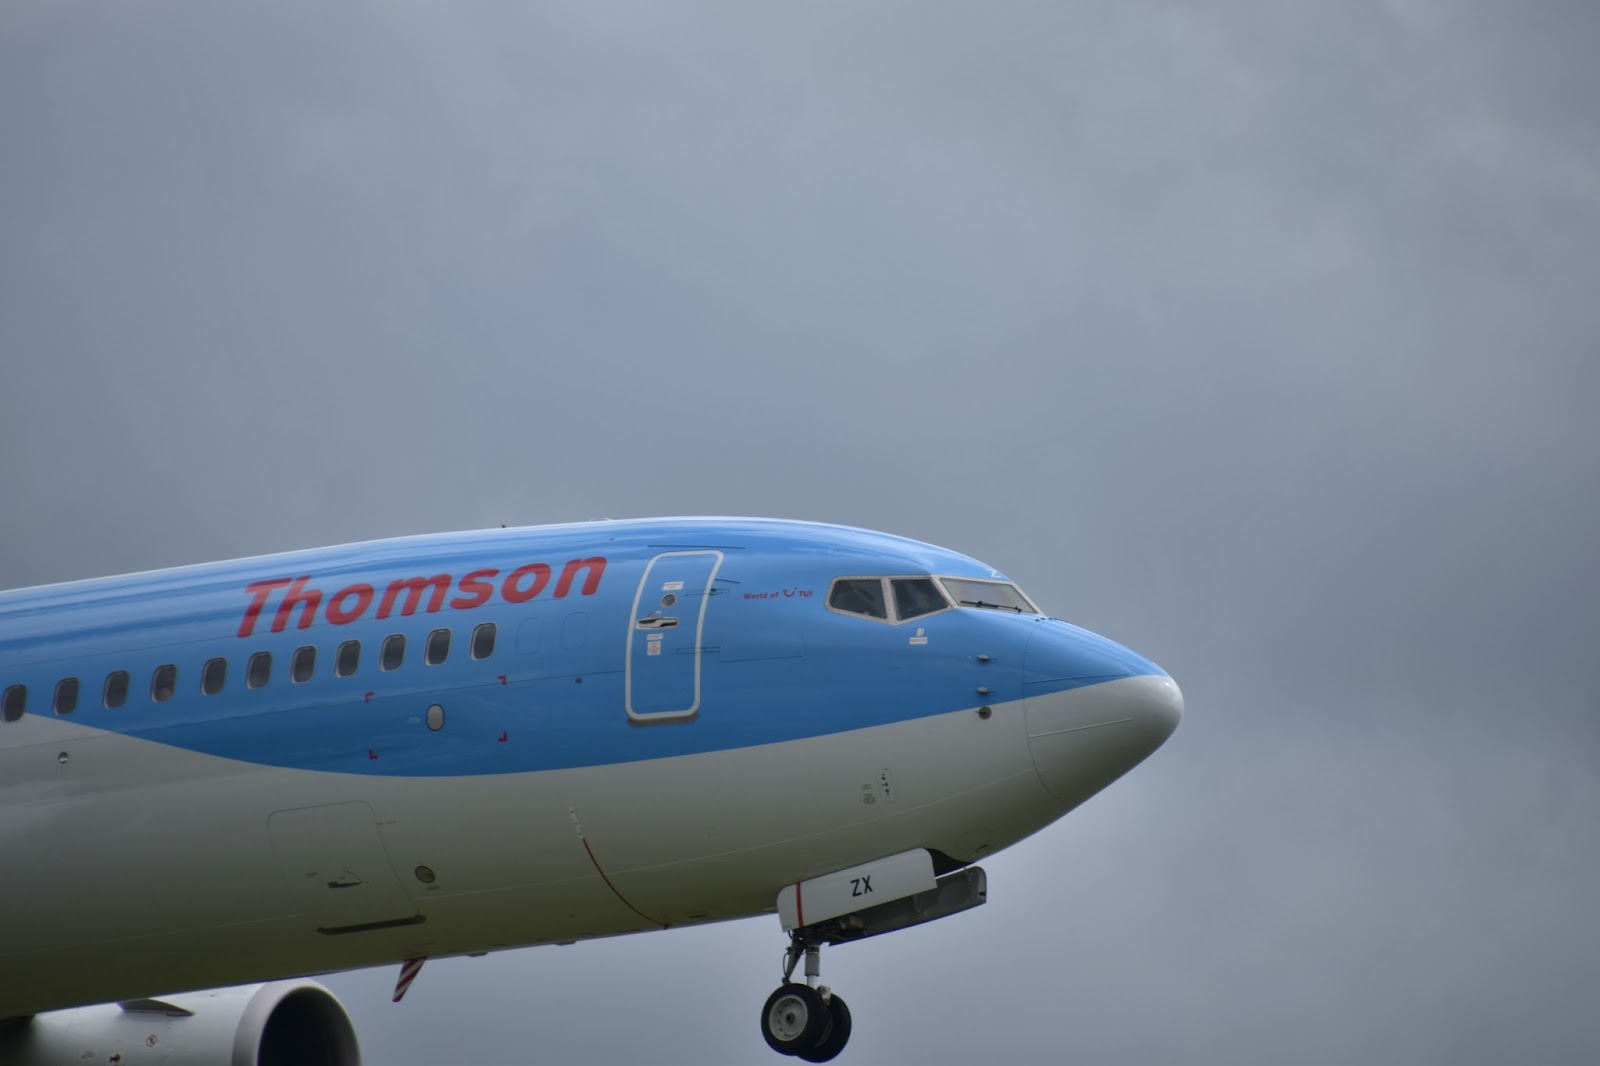
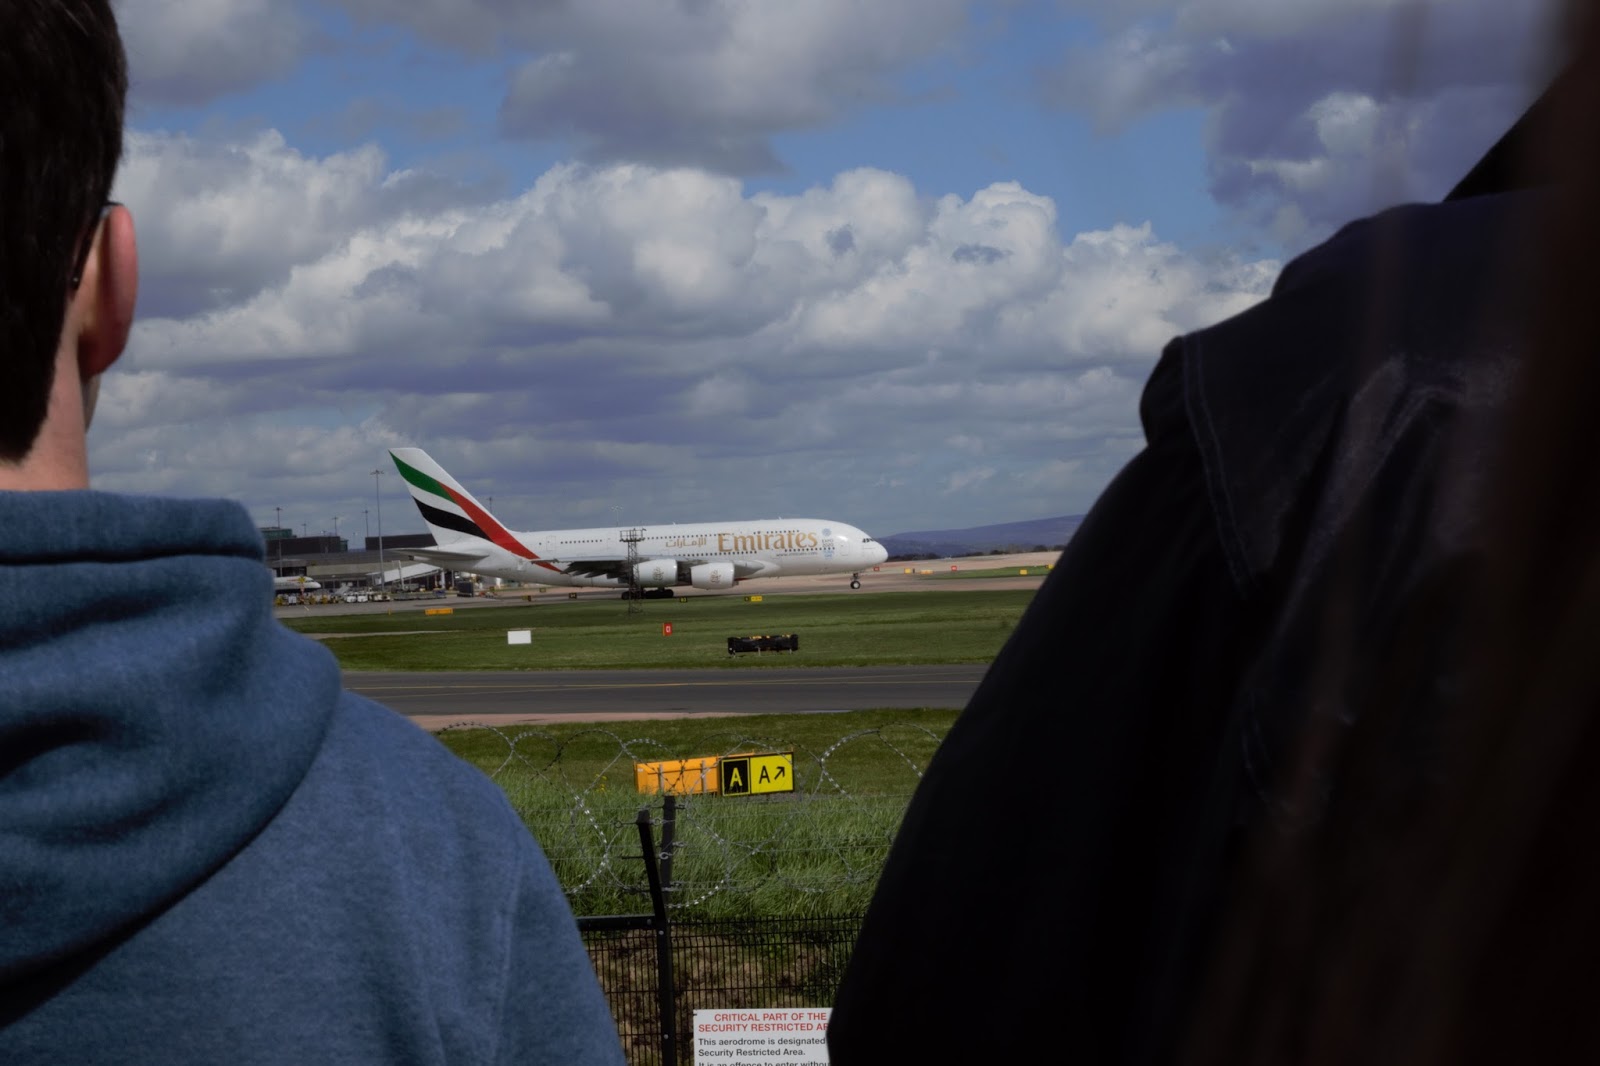
For my second photo shoot, I intended to take images of aircraft in flight as they approached the runway at Manchester Airport. I intended to capture both full images of the aircraft including background and detailed, close up shots of parts of the aeroplane.
After the disappointing results that I had using my 18-55 mm kit lens, I decided to use a telephoto lens with a focal length of 18-300 mm. It was the first time I had used this lens and I was pleasantly surprised by just how detailed the images were even for distant aircraft. I did find the lens fairly heavy after being used to my lighter kit lens, to help with this I put the camera in the bag between the aircraft landing. I could have also used a monopod to help with the weight issue.
My second photo shoot took place at The Airport- a popular bar and grill style pub which is located next to the runway at Manchester airport. The beer garden located at the back provides an ideal vantage point in which to shoot the aircraft as the come into land or taxi to take off.
The weather during the shoot was mixed. At first it was fairly overcast, this grey sky did not produce much background interest in the photos, the sky looked very "flat" However, as the day progressed, the weather became worse which resulted in storm clouds forming. These clouds provided a dramatic backdrop and added depth and interest to the background.
I had to be careful when it started to rain heavily to keep my camera and lens dry to prevent damage. There was shelter provided which I used, however this altered the angle of some of my images. An alternative option would have been to use a rain sleeve to protect my equipment, however this was not available to me.
First Photo Shoot Image Log
All images were captured using the Shutter Priority setting.
 |
| F/29, 1/250 sec, ISO 317, 55 mm |
 |
| F/29, 1/250, ISO 317, 55 mm |
 |
| F/29, 1/250, ISO 317, 55 mm |
 |
| F/36, 1/250, ISO 317, 55 mm |
 | |
| F/25, 1/250, ISO 317, 55 mm |
 | |
| F/36, 1/250, ISO 317, 55 mm |
 |
| F/29, 1/250, ISO 317, 55 mm |
Wednesday 3 June 2015
First Photo Shoot
First Photo Shoot.
For my first photo shoot, I intended to take images of the aircraft both stationary and in flight and also find out the best vantage points in which to get the shots I require.
During my research, I had viewed forums for the opinions of aircraft enthusiasts and chose two areas that had been recommended as ideal places to shoot from. My first shoot took place at The Aviation Viewing Park at Manchester Airport.
The weather was ideal, with many breaks in the cloud, which I hoped would provide an interesting backdrop to the main subject of the image.
I used my Nikon D5300 with my 18- 55 mm kit lens. I did not use a tripod as this wasn't available to me but I did not feel this was in any way detrimental to the quality of the images. If a tripod had been available to me, I would have had to be careful using it in such a busy place. The risks of somebody tripping over it would have been high. As I was using the panning technique, I had to be careful that I had enough space around me to do so.
I found this shoot to be a little disappointing; a crowd of people were already there which meant I could not get many clear photos without people being in shot, this wasn't helped by my short stature!
I also had disappointing results using my 18- 55 mm kit lens, the focal length did not give me the close up, detailed images I wished for. The aeroplanes seem small and the detail is lost.
If I was to do this photo shoot again, I would arrive at an earlier time to get a better vantage point. I would also use a telephoto lens to be able to produce the closer, detailed images that I intend to take.
Tuesday 2 June 2015
Statement Of Intent.
Statement of Intent.
Title of Project.
A Study of Flight.
Intentions of the Photography to be undertaken.
For this project, I intend to take photographs of aircraft in flight. I want to include images of the whole aircraft as well as close up detailed images of interesting parts of the aircraft. I wish my images to convey the excitement of flight and the wonder of a heavy object becoming seemingly lighter than air.
Reasons for Selection of Theme.
I decided on this theme as I have always enjoyed visiting airports and air shows and for the first time I now have a camera with the ability to see detail that you might not otherwise be able to view. I have visited several aircraft forums and have been inspired by the photography that is produced and posted.
Equipment That I Will Be Using.
I will use my Nikon D5300 DSLR camera with both my 18-55 mm kit lens and a Nikon 18- 300 mm telephoto lens. I would have preferred the use of a tripod, however, this option will not be available to me on the days of my photo shoot.
Techniques I will be Using.
Aperture Priority Mode.
After researching several techniques for aircraft photography, I have chosen to use Aperture priority mode. This will enable me to choose the aperture and allow the camera to choose a suitable shutter speed and ISO.
Panning.
I will continue to shoot the aircraft as it travels past me, moving the camera while I shoot.
Continuous Burst Mode.
As I am unsure how many aircraft will be landing, I wish to take as many photos as possible, for this I will use Continuous Burst mode.
Continuous- Servo AF.
As the aircraft I am shooting will be moving, I will use Continuous- Servo AF.
How light quality can be used to help convey the visual message.
All my images will be shot outside which means the only source of illumination will be natural light. As this is an outside location and thus subject to weather conditions, I am unable to predict the quality of the light available.
Safety considerations
I must be aware of other people while I shoot the images. I intend my photo shoot to take place in a very popular area; as such I expect it to be busy with both adults and children. If I was to use a tripod, I would have to be aware of the trip hazard this would pose, however a tripod wont be available to me on the day.
Research
Research
I found it difficult to find a professional photographer who focuses on aircraft photography, however I did find many websites on which very talented amateurs posted their work. I found there work to be both inspiring and informative. The following images were taken from the website airliners.net

The person in this picture gives a sense of scale. The aircraft looks huge in comparison.

I like how this picture shows the whole of the aircraft. The colours are vivid against the blue sky.

I think this is a great action shot as it captures the aircraft mid take off.

This is the high detailed image that I hope to emulate during my photoshoots. By using a telephoto lens I should be able to capture parts of the aircraft in high detail.

I find this image very inspiring as I wish to take images of parts of the aircraft. This picture is very dramatic and full of action.
Research Links
Research links
Websites.http://www.mjaviation.co.uk/CivilianAviation2.htm
A great website that had advice on the best place to shoot from at Manchester airport.
http://www.digitalcameraworld.com/2013/08/09/aviation-photography-tips-for-taking-amazing-pictures-of-airplanes/
Invaluble advice regarding which camera settings to use when shooting aircraft photography.
www.airliners.net
A website full of aircraft photography. Very inspiring.
Books.
Nikon D5300 From Snapshots to Great Shots. Rob Sylvan
Subscribe to:
Posts (Atom)